KEN: OTHER ARTICLES OF CLOTHING
Having taken care (we hope) of the feet I looked at the balance of my apparel with the same critical eye used in my backpack decisions functionality, durability and weight!
UNDERWEAR
When weight is a major consideration considering both quantity and quality becomes important, particularly with underwear.
<![if !vml]> <![endif]>My question boiled down to this; “Do I get REALLY light underwear and carry several pairs (a pair a day) or do I get some that might be a little heavier but is designed for this kind of trek?”
Design for this kind of trek is important. Although there are multiple companies that manufacture lightweight underwear many are not really designed for the concerns of long distance, ultra-light, limited washing facility hiking.
Ultimately I decided that EX-Officio Give and Go boxer briefs.
Weighing in at 2.4 oz per pair there are actually lighter men’s underwear available but the EX-Officio has no cotton (less bacterial growth), are made with 94% Nylon and 6% Spandex, include a breathable mesh for additional air flow and are treated with an antimicrobial.
These briefs can easily be washed in a sink and dry quickly without losing shape or elasticity and without getting stiff and scratchy like cotton can sometimes do.
With the antimicrobial they can (yes it may sound disgusting) be worn for multiple days (in a pinch) and with the quick drying advantage 2 pair should be enough for the entire hike and given the same criteria I will carry 2 of their undershirts as well.
OUTERWEAR
<![if !vml]> <![endif]>
<![if !vml]>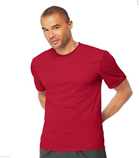 <![endif]> LAYER, layer, layer. So, the lightweight stuff was easy for me. I like Haynes Cool Dri Tee’s. I have some and you can’t get a T-Shirt that’s much lighter, durable and (HURRAY, finally) inexpensive, so into the backpack it goes.
So what would an initial layer look like? An undershirt (or maybe 2) from Ex-Officio and a Hayne’s Cool Dri. On the bottom side we are both packing REI “Lightweight Bottoms”. These are lightweight but warm and we intend to use them as long johns as well as addition warmth for nights in the albergues.
A little more warmth? Add a Magellan “Fish Gear” short sleeve, UV protective shirt. I like these because they are light, breathe very well, are UV protective and provide room for layering.
To add even more I can double the undershirts or add a Columbia “Flashback” Windbreaker and if it’s really cold I am carrying my Kokatat Polartec outer-core “T”.
I LOVE Polartec! I was first introduced to it when I was SCUBA diving in VA in the winter.
<![if !vml]>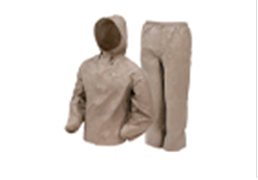 <![endif]>
<![if !vml]> <![endif]>Bottom temperatures were almost always in the high 30’s to high 40’s and air temps often just as cold! When climbing out of the COLD water into the COLD air I wanted a “wrap up” that was warm, durable and easy to put in a gear bag. Weighing in at only 8.0 ounces Polartec was/is ounce for ounce the best thing I can find to meet all these criteria.
My Kokatat weighs in at exactly 8 ounces and gives better insulation than many of my heavyweight winter jackets.
If even more is needed Brenda and I are both packing Frog Toggs ultra lite rain suits.
Frogg Toggs Ultra-Lite II suits are constructed from an ultra-lightweight, waterproof, breathable, nonwoven polypropylene material. The patented bilaminate technology with “welded” waterproof seams and Frog Togg has unmatched sweat-free breathability. The compression packability of this suit allows it to pack down to storage pocket size, and it is perfect for backpacks.
PANTS
Here is an item that was a real concern for me.
I live in shorts and denim (although when necessary I have some nice suits and I do clean up ok). How to get pants that will meet all the criteria I was looking for was a REAL challenge.
Light, durable, comfortable and functional PANTS??
<![if !vml]>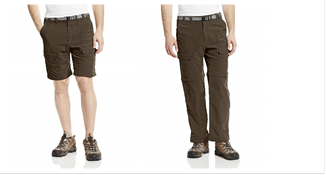 <![endif]>
I probably spent almost as much time on this item as I did on backpack and shoes! Looking, trying on comparing, weighing many, many pairs. After investigating, reading (trying on, weighing etc.etc.etc) I found White Sierra men’s trail convertible pants.
I have had and looked at dozens of pairs of “convertible” pants and was never impressed with any of them; either the fabric was heavy and didn’t wick moisture or the fabric was ok but the “convertible” process became clunky after a few removals and reattachments; most of the few I actually bought ended up as shorts…period.
White Sierra is different. They are constructed of 100% quick drying nylon, have cargo pockets, back hook-and-loop pockets, and front slant pockets. They have UVA and UVB protection and the zipper is VERY WELL MADE and they weigh only 12.5 ounces. I am wearing a pair and packing a pair.
<![if !vml]>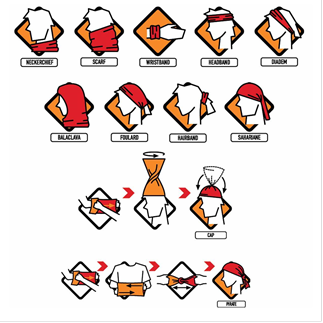 <![endif]>This is a great product and worth adding to any back pack, suitcase or RV for anyone who likes to spend time outdoors.
HEAD COVERS
<![if !vml]>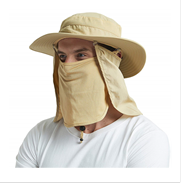 <![endif]>Although I prefer ball caps I decided that with the prospect of walking for hours in the sun I would opt for a full brim hat.
With a 2.75 inch waterproof brim and detachable neck flap and breathable face protector (which I will probably leave behind) the Einskey sun hat was everything I was looking for and “all in” with all accessories it still only weighs 3.7 ounces.
The hat has a waterproof brim and is made with quick-drying polyester and an internal moisture wicking sweatband. The crown is ventilated and it’s pretty much crushproof so I can jamb it in the backpack without crushing the brim.
In addition we are each carrying a convertible head/neck/face/wrist etc. “buff”.
For those unfamiliar a “buff” is a tubular bandanna that has way more features then a plain bandanna or simple headband. They come in many different materials and a wide variety of colors, the image show the many ways a “buff” can be used. Versatile, handy and weighs in at only 1.5 ounces.
NEXT POST- Miscellaneous Items
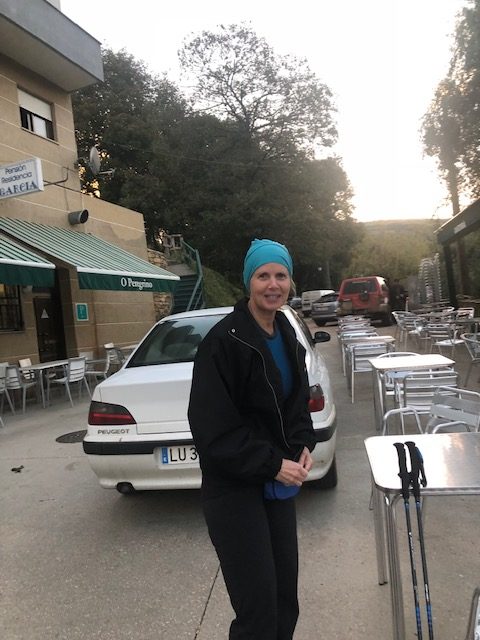
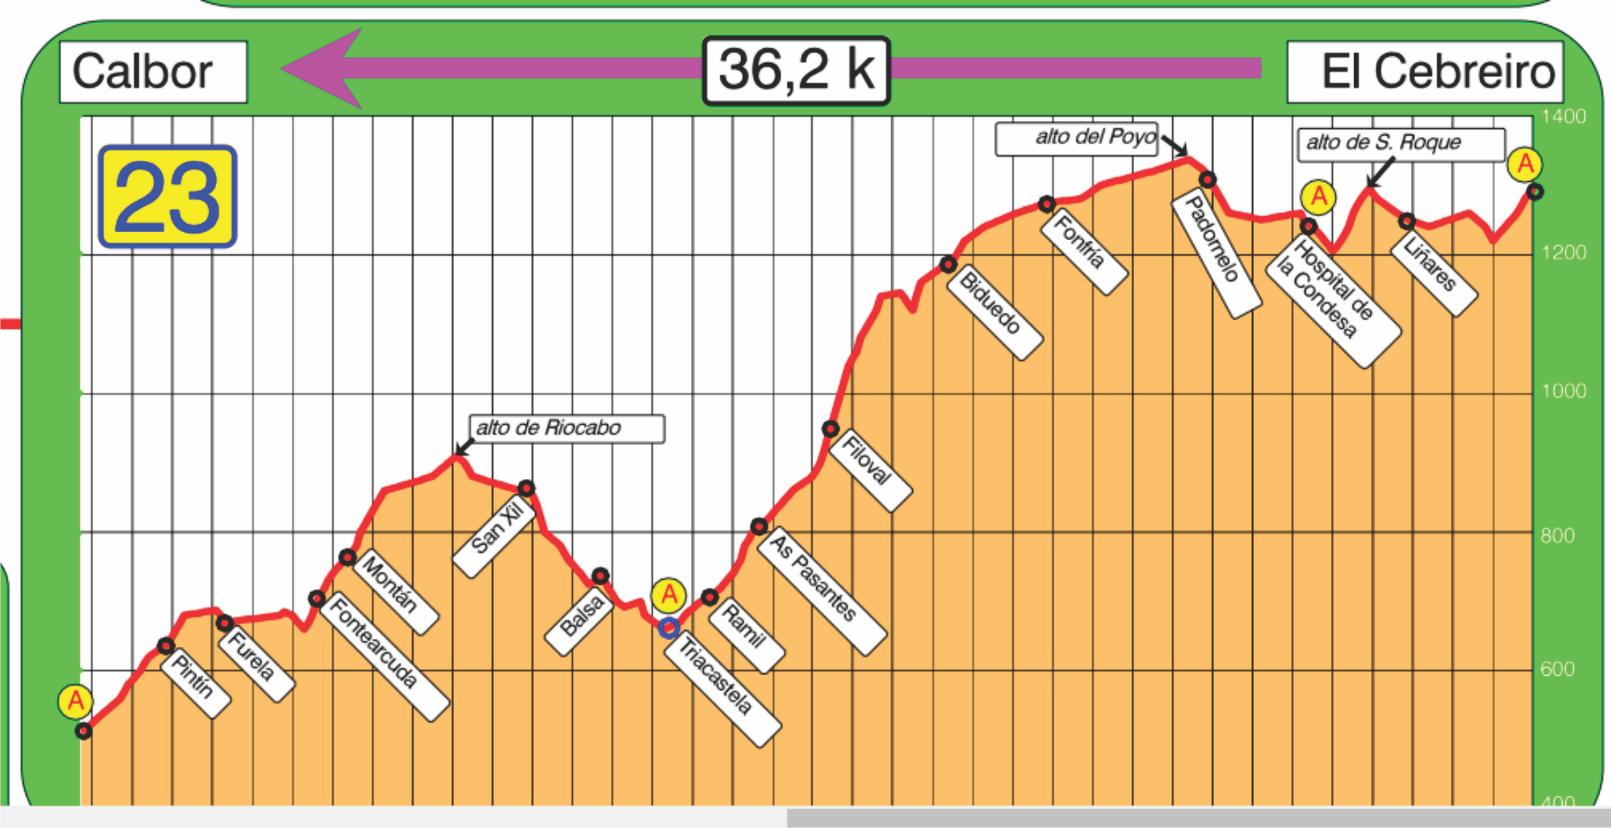
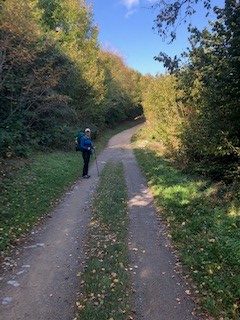
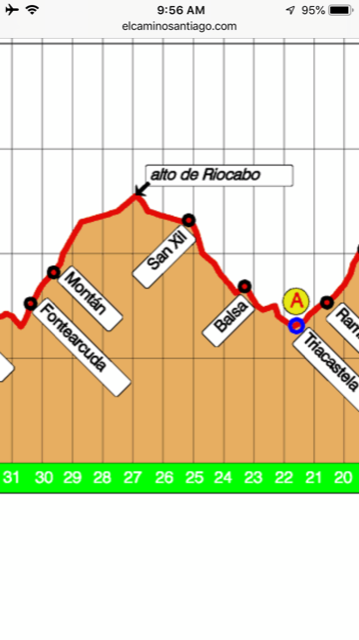 Notwithstanding the vertical nature of the days travels we did find some more inviting areas and the countryside, villages, villagers and Pilgrims continued to be amazing and inviting.
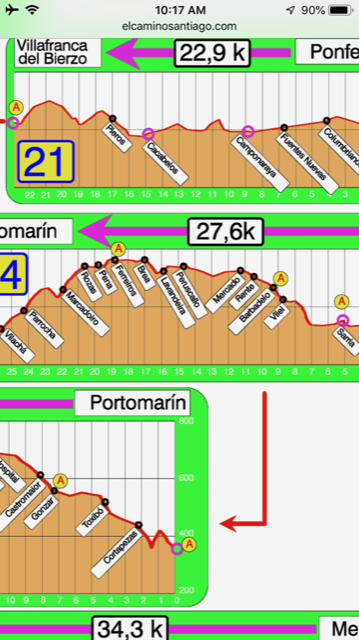
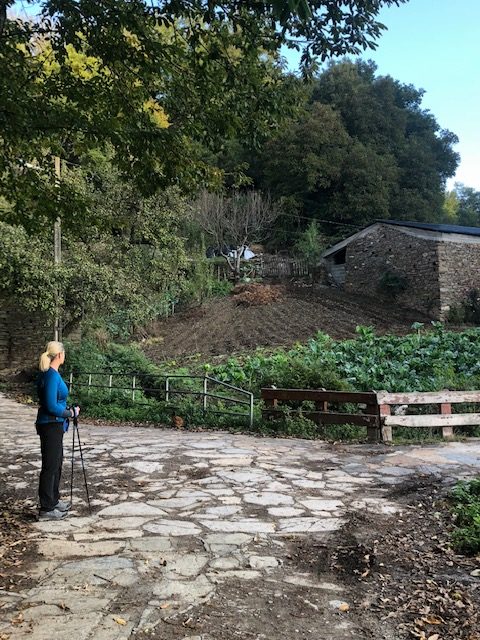
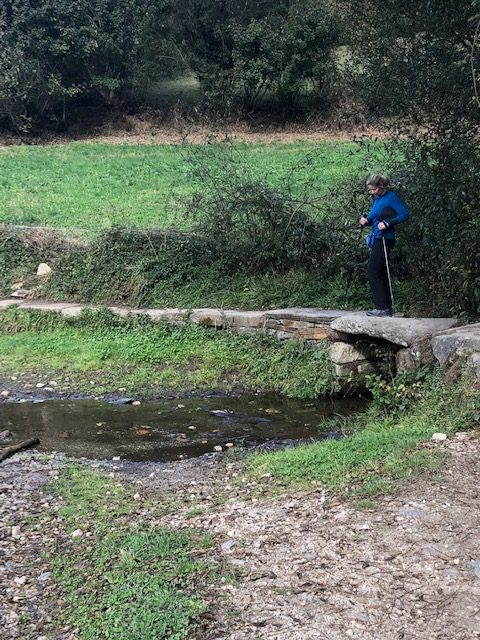

 Buen Camino


 <![endif]>
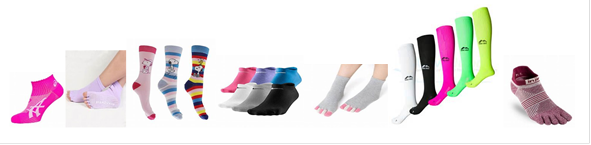
 <![endif]>


 <![endif]><![if !vml]>
 <![endif]>
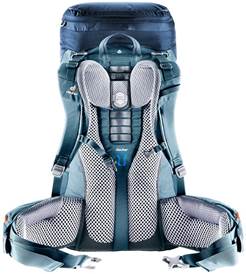
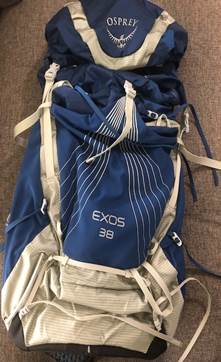 <![endif]>After looking at all the backpacks we already had, ordering, trying and returning multiple backpacks I decided the Osprey Exos 38 was right for me.
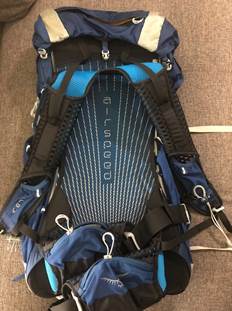 <![endif]>